A New Tile Mold in 9 Easy Steps | Ceramic Handmade Tiles
Introduction
Welcome to Gardenia Garden & Home Decor, your ultimate destination for exquisite ceramic handmade tiles. In this guide, we will walk you through the exciting process of creating beautiful tiles using our innovative new tile mold. With just 9 easy steps, you will be able to achieve stunning designs to enhance the aesthetics of your home.
Step 1: Gather Your Materials
Before getting started, make sure you have all the necessary materials at hand. You will need:
- Ceramic clay
- New tile mold
- Rolling pin
- Wooden board
- X-Acto knife
- Pottery tools
- Drying rack
Step 2: Prepare the Clay
Begin by preparing the ceramic clay. Knead it thoroughly to achieve a smooth and pliable consistency. This will ensure easier molding and prevent any cracks or imperfections in the final tiles.
Step 3: Roll Out the Clay
Place the wooden board on a flat surface and sprinkle a bit of water to prevent the clay from sticking. Roll out a portion of the clay using the rolling pin until it reaches the desired thickness for your tiles.
Step 4: Position the Tile Mold
Take the new tile mold and carefully position it on top of the rolled-out clay. Make sure it is centered and aligned correctly.
Step 5: Press and Cut
Apply even pressure on the mold, pressing it into the clay to create the desired design. Once the design is imprinted, carefully remove any excess clay using an X-Acto knife. This will give your tiles clean edges.
Step 6: Remove the Mold
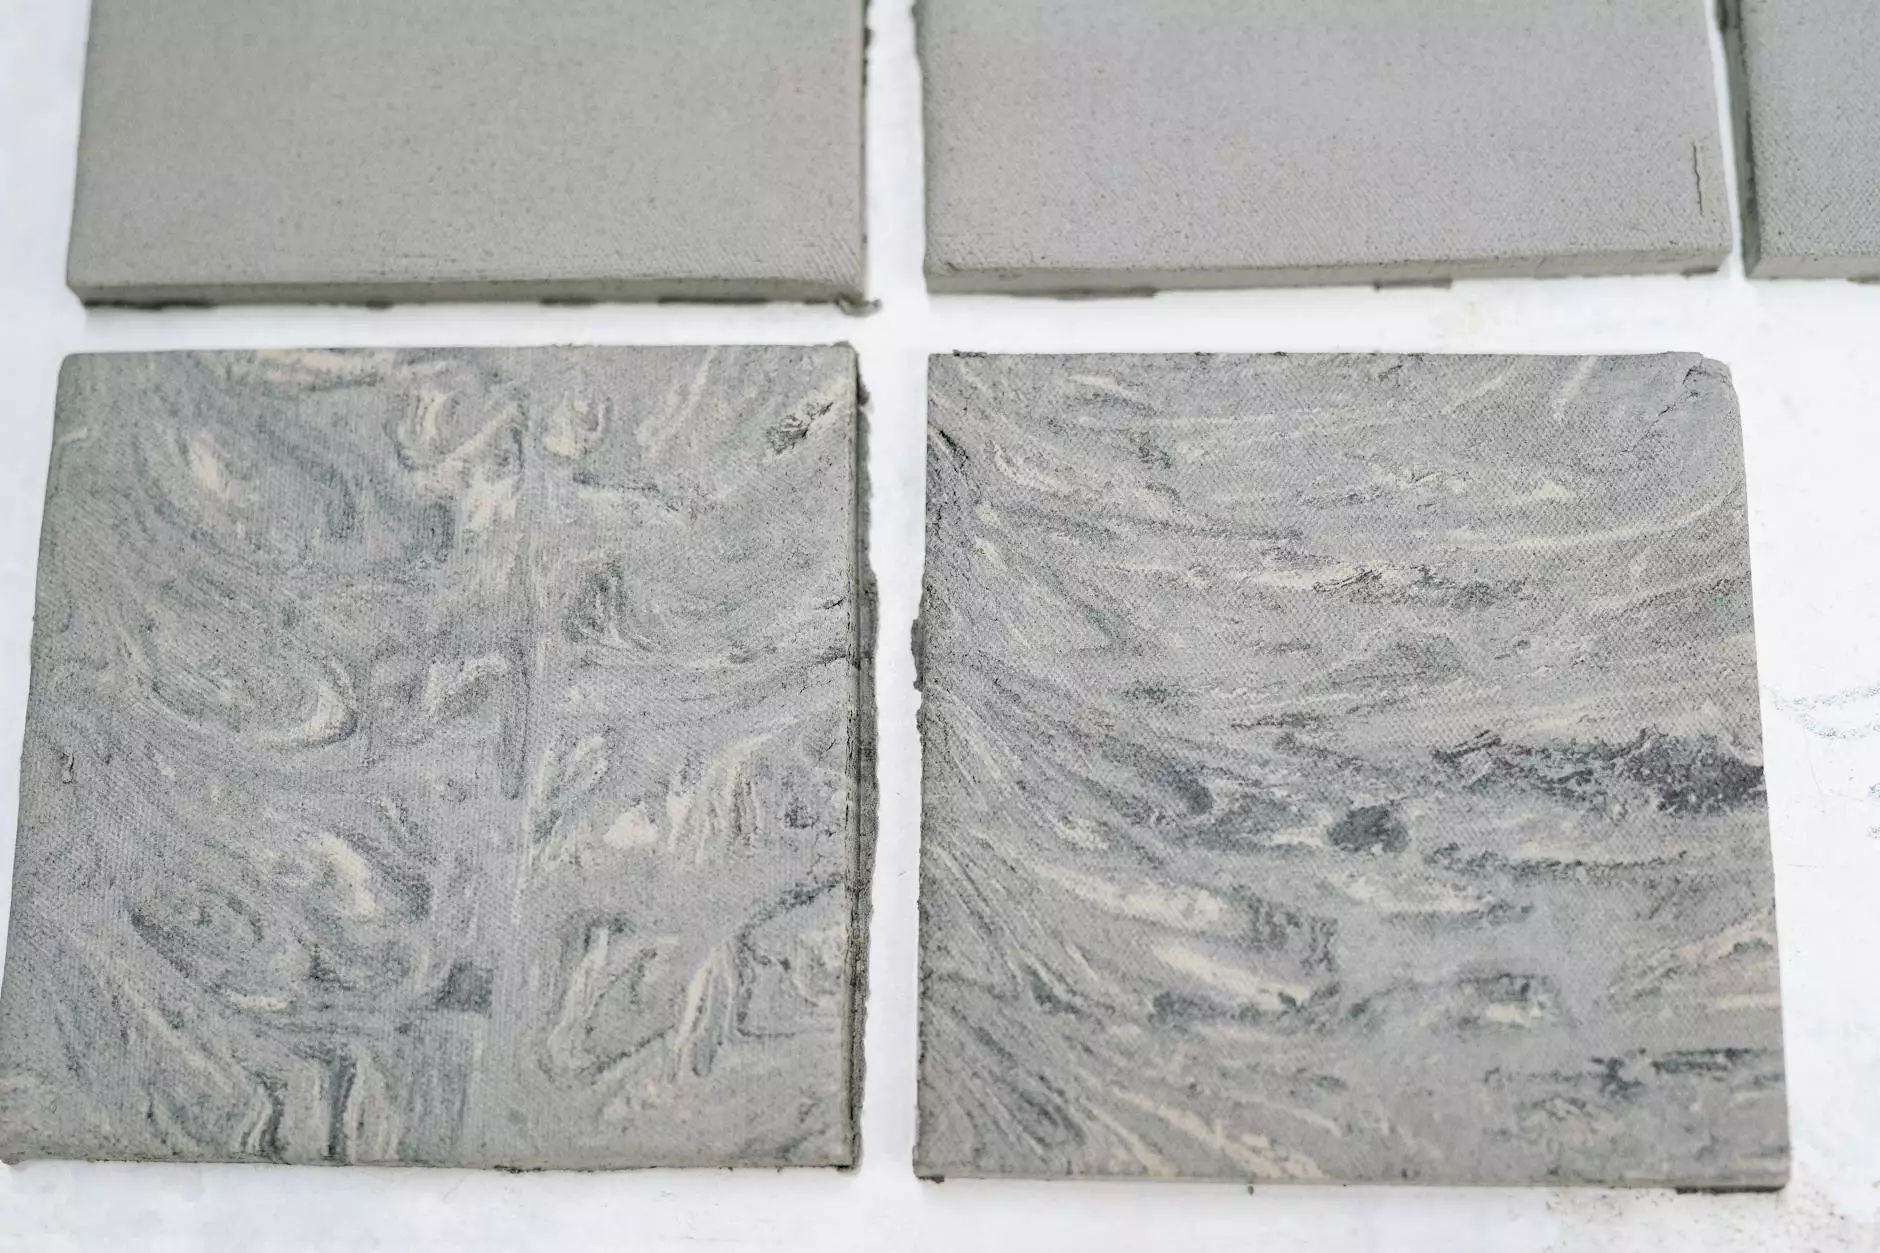
Gently lift and remove the tile mold from the clay, revealing the beautifully crafted design. Take your time to ensure the clay remains intact and undisturbed.
Step 7: Finishing Touches
Use pottery tools to refine the edges of the tile if needed. Smooth out any rough surfaces and make any additional adjustments to perfect the shape and appearance.
Step 8: Drying and Curing
Transfer the newly molded tiles to a drying rack, ensuring they are placed evenly and not touching each other. Allow them to air dry for a few days until they are completely hardened and ready for the next step.
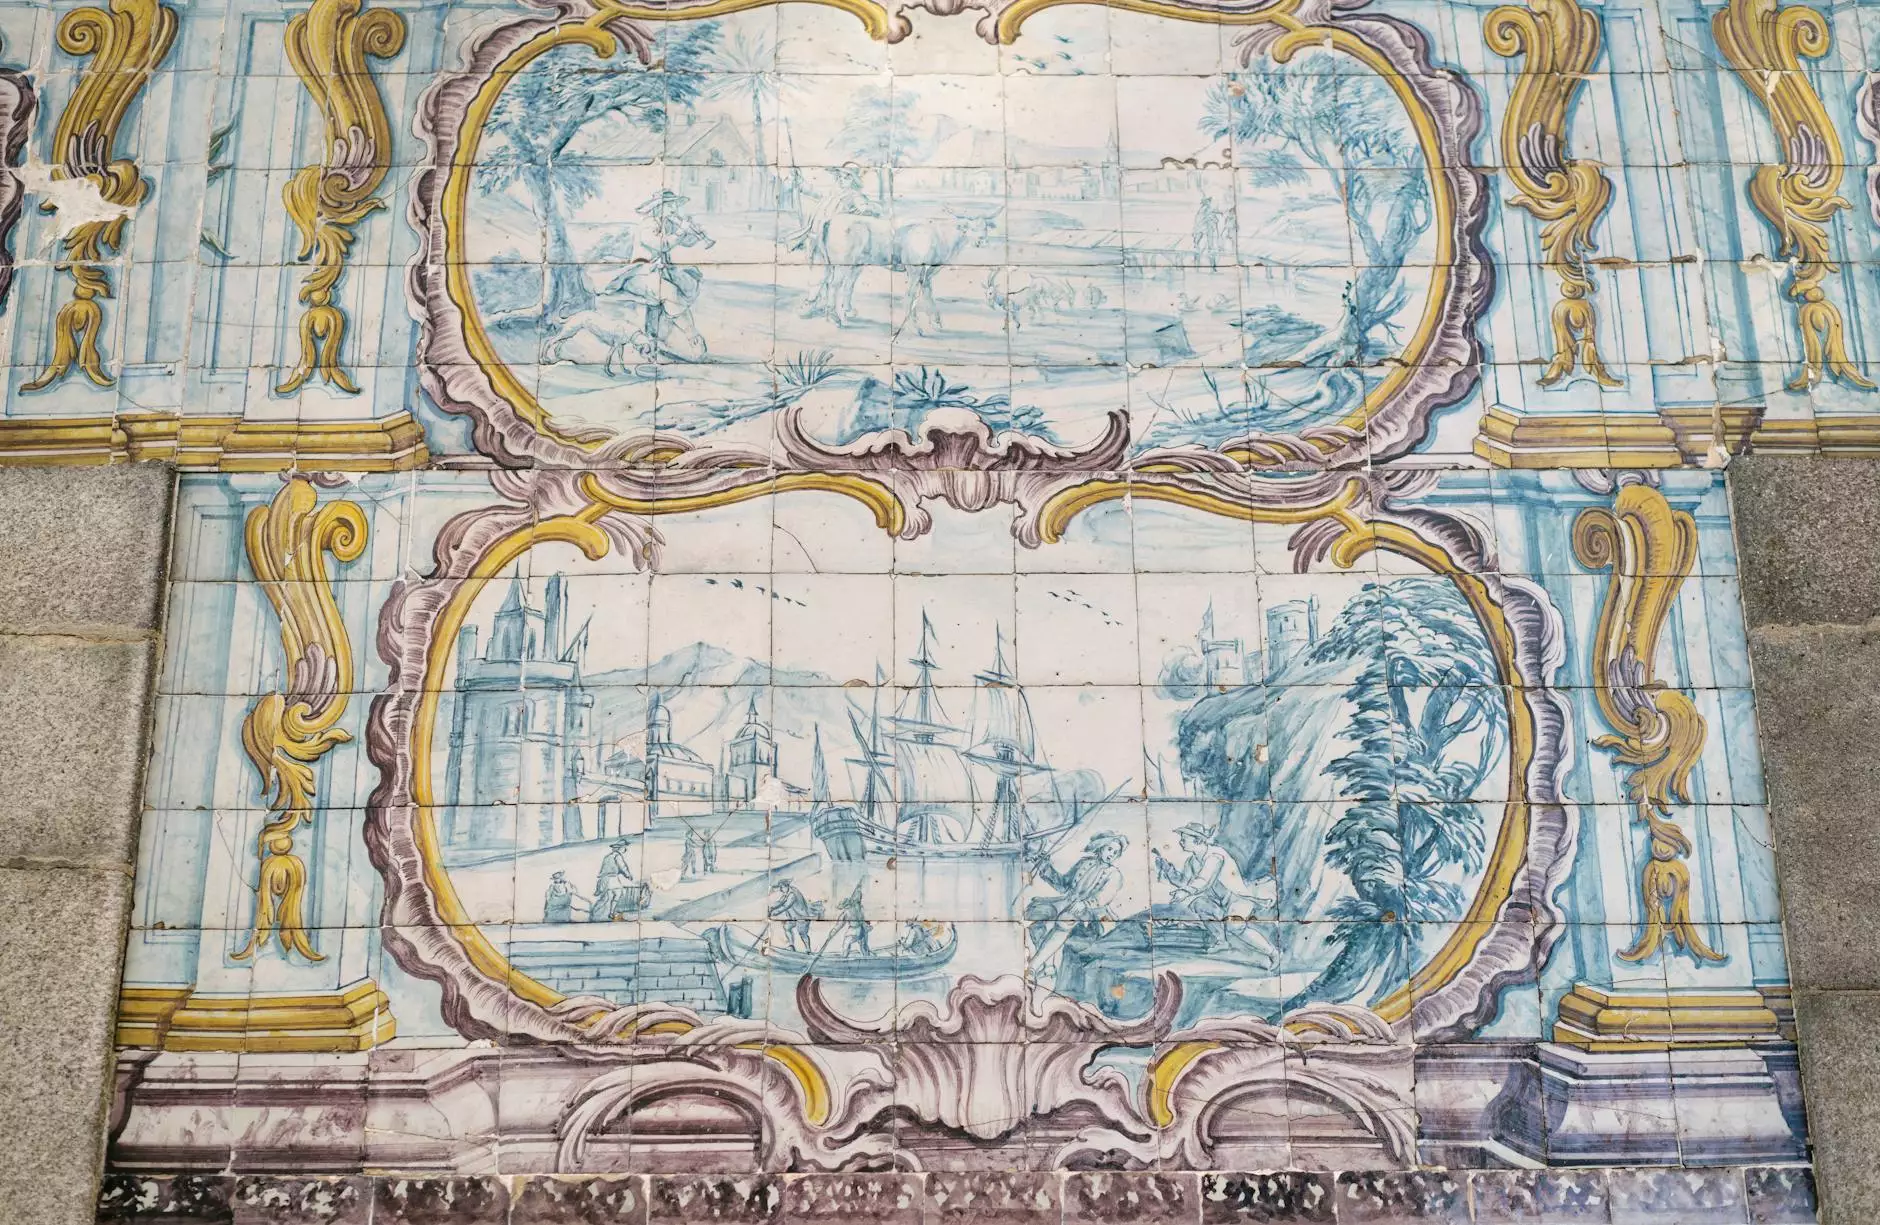
Step 9: Glazing and Firing
Once dry, you can choose to apply a glaze to provide a protective and decorative finish. Follow the manufacturer's instructions to apply the glaze evenly. After glazing, fire the tiles in a kiln at the recommended temperature and duration to achieve the final, durable ceramic tiles.
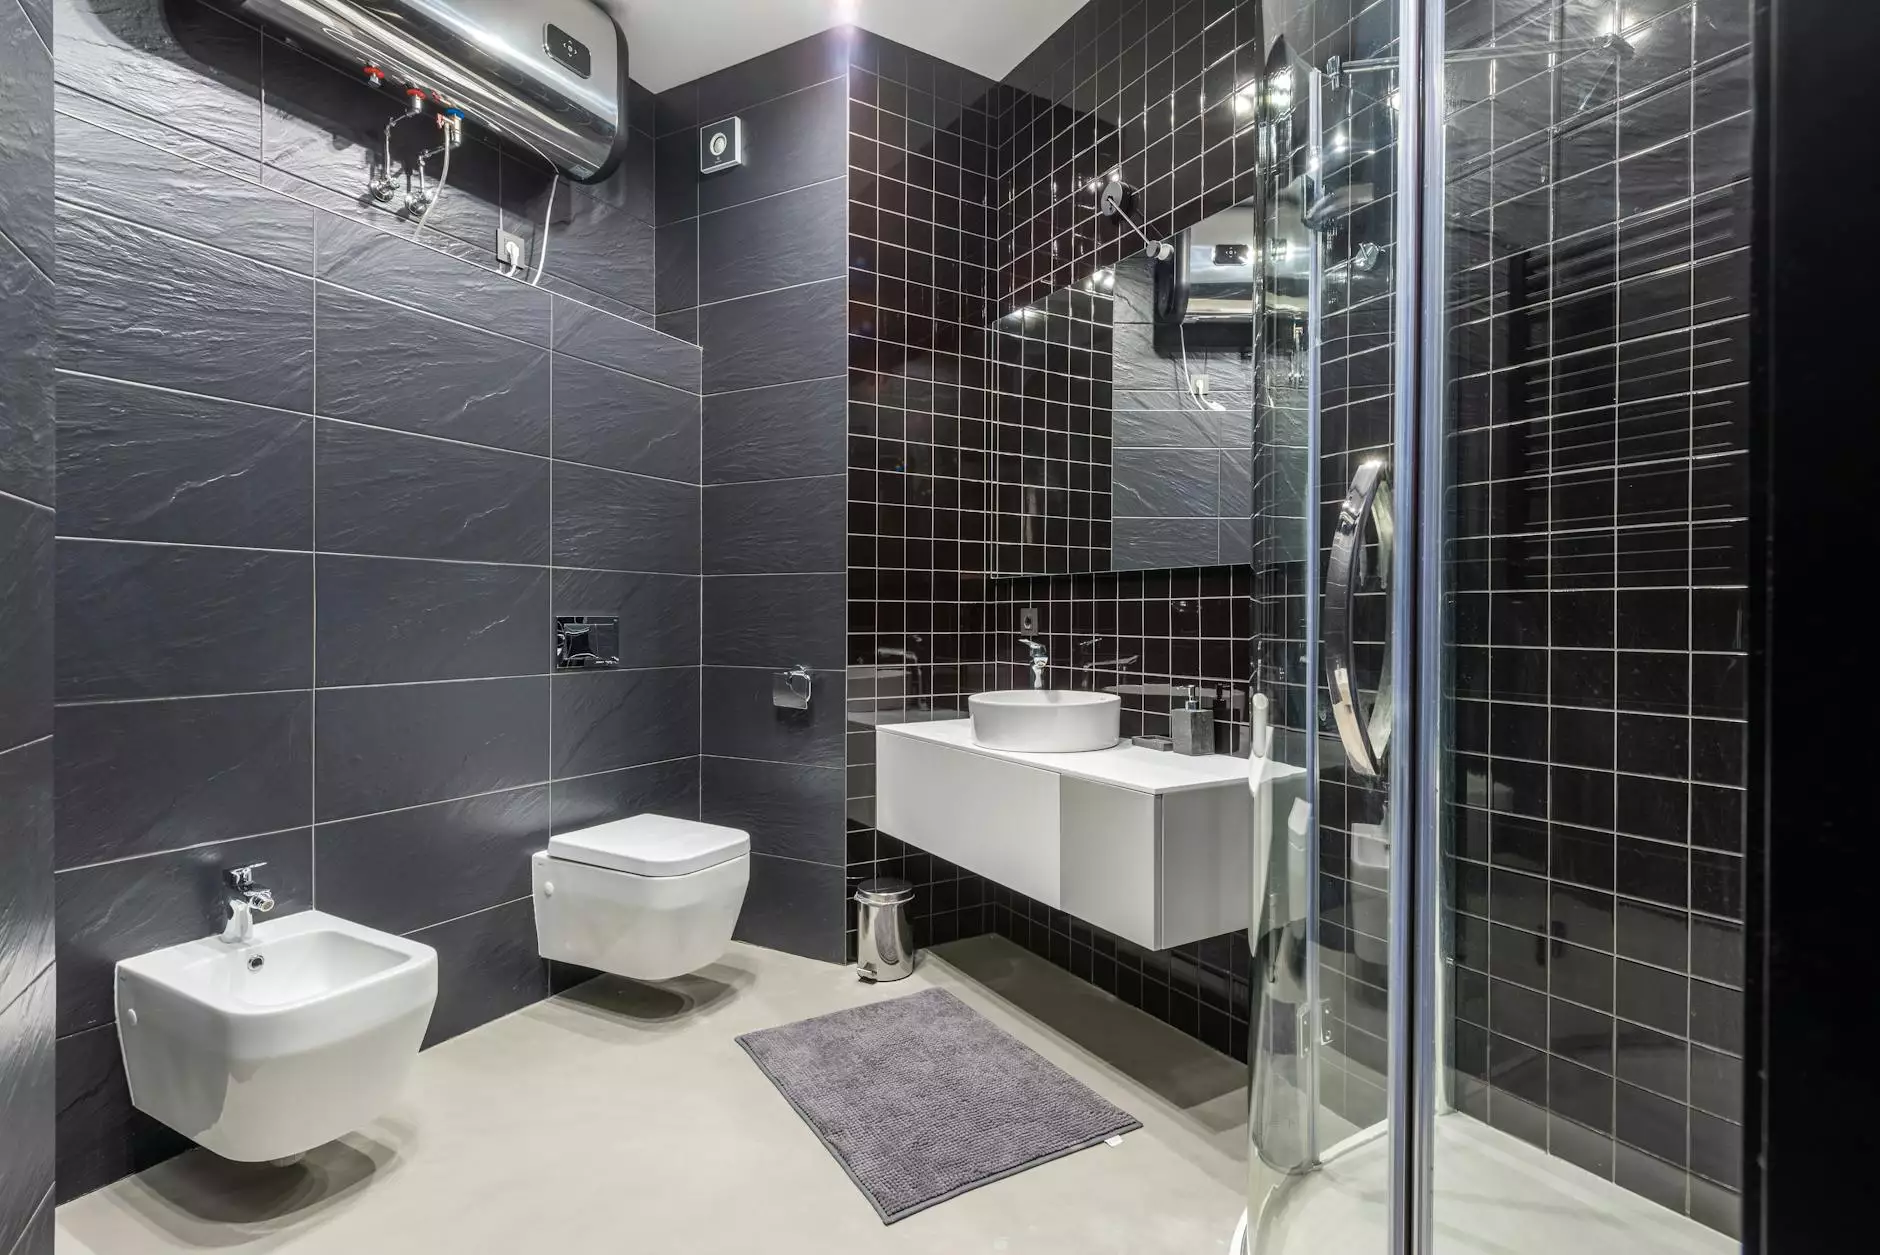
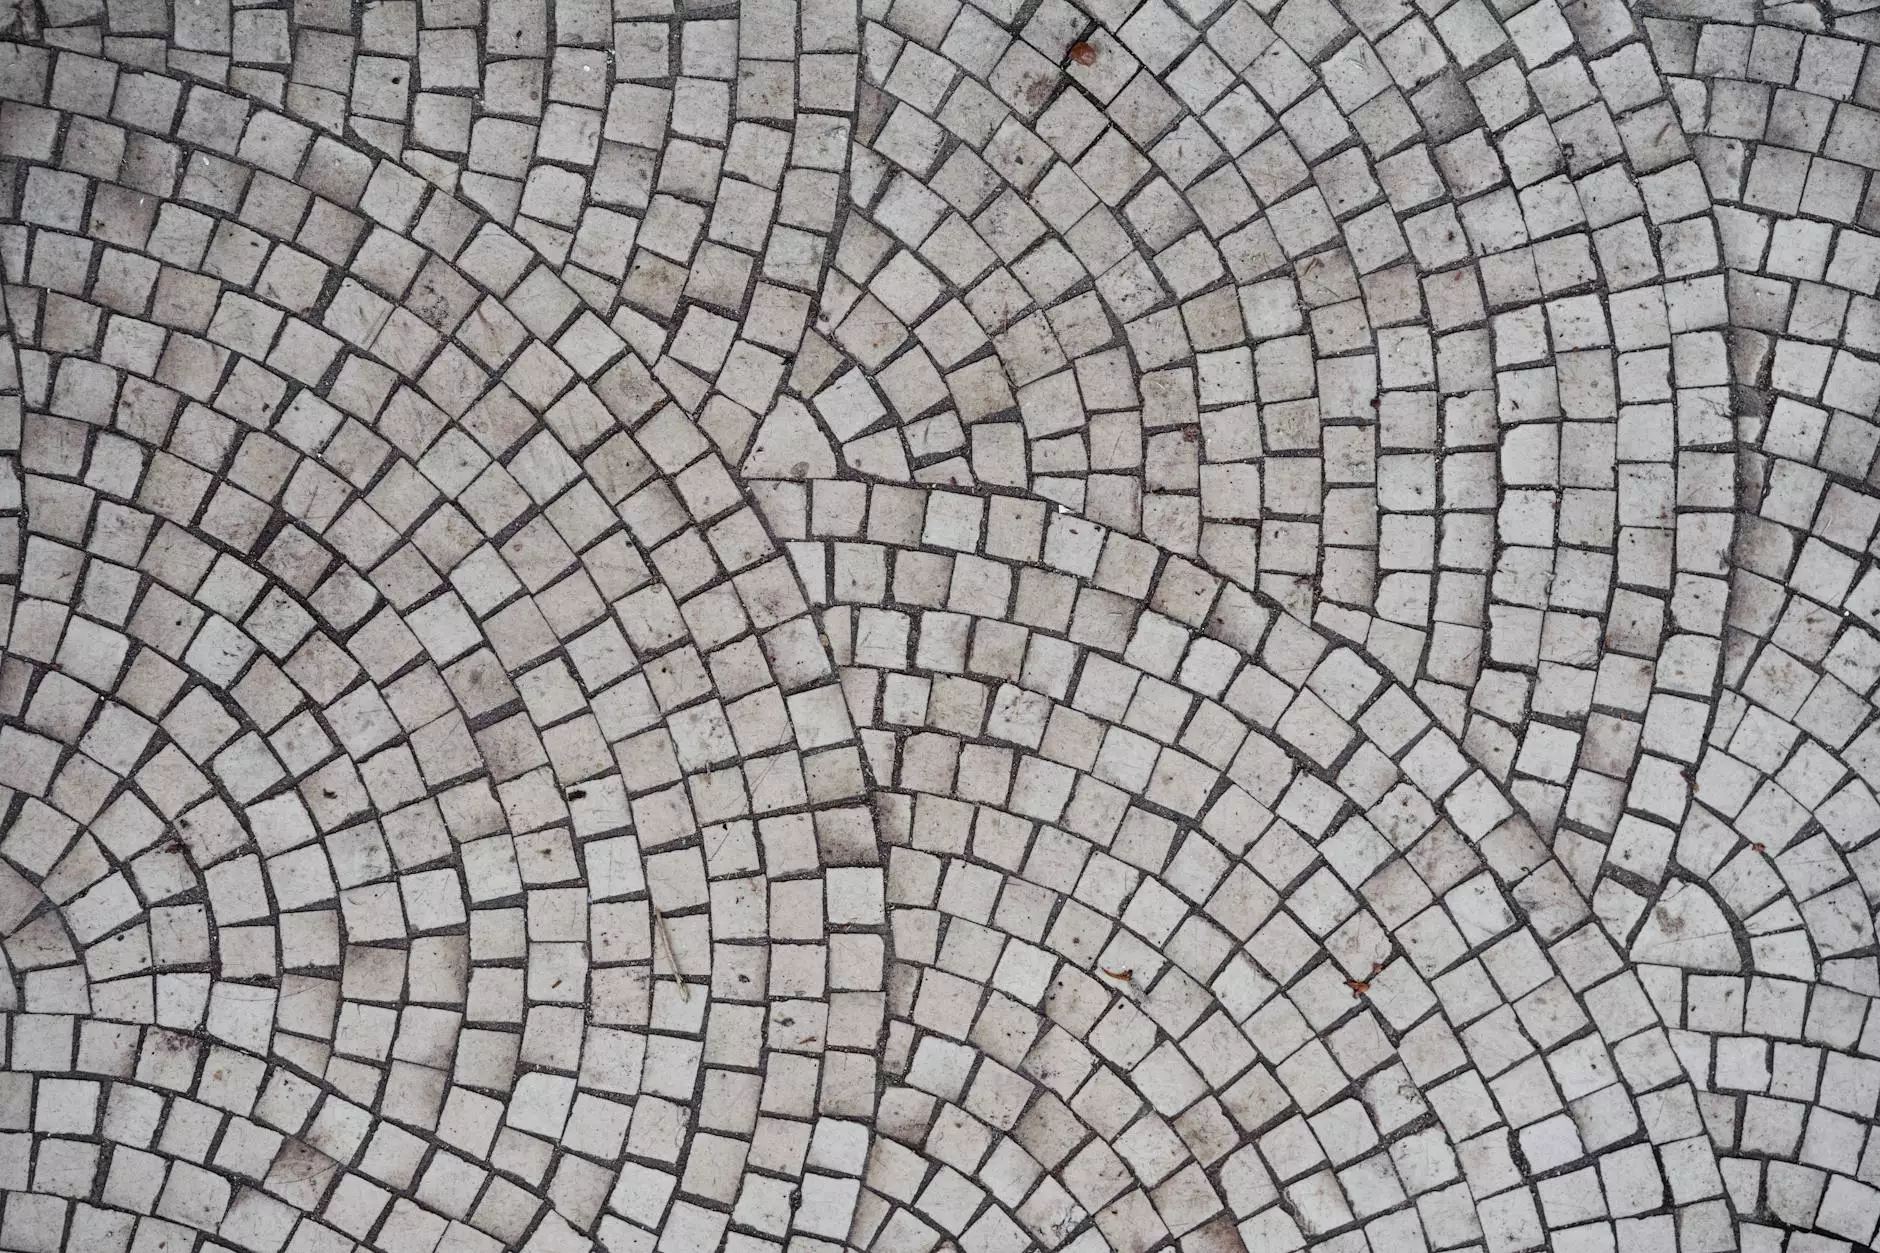
Conclusion
Congratulations! You've mastered the art of creating ceramic handmade tiles using our new tile mold in just 9 easy steps. Let your creativity flow and experiment with different designs, patterns, and glazes to personalize your space with unique and captivating tiles. At Gardenia Garden & Home Decor, we are proud to provide you with the tools and inspiration to elevate your home decor to extraordinary heights. Start your tile-making journey today and experience the joy and satisfaction of crafting handmade treasures for your home.